Let’s get real: If your wooden floors look like they’ve survived a stampede of muddy boots, you’re probably thinking about floor varnishing in Auckland. Good choice. Varnish isn’t just about making timber look fancy—it keeps your floor from turning into a scratched-up disaster zone. But hey, if you think you can just slap on some varnish and call it a day, you’re dreaming. The real magic? It’s all in the prep work.
Alright, here’s the lowdown. I’m not going to bore you with a bunch of technical jargon, but if you want floors that make your place look like a magazine spread, you gotta follow a few steps.
Step 1: Prepping Your Timber Floor—Auckland Style
Listen, timber floor preparation Auckland work is everything. Skip this, and you’ll end up with a floor that’s streaky, patchy, or just plain sad. Nobody wants that. So, what’s the move?
Fix and Clean the Timber
First, walk around and stomp a little. If any boards wiggle or squeak at you, fix ‘em up. Fill those cracks, level out the weird spots. Don’t be lazy.
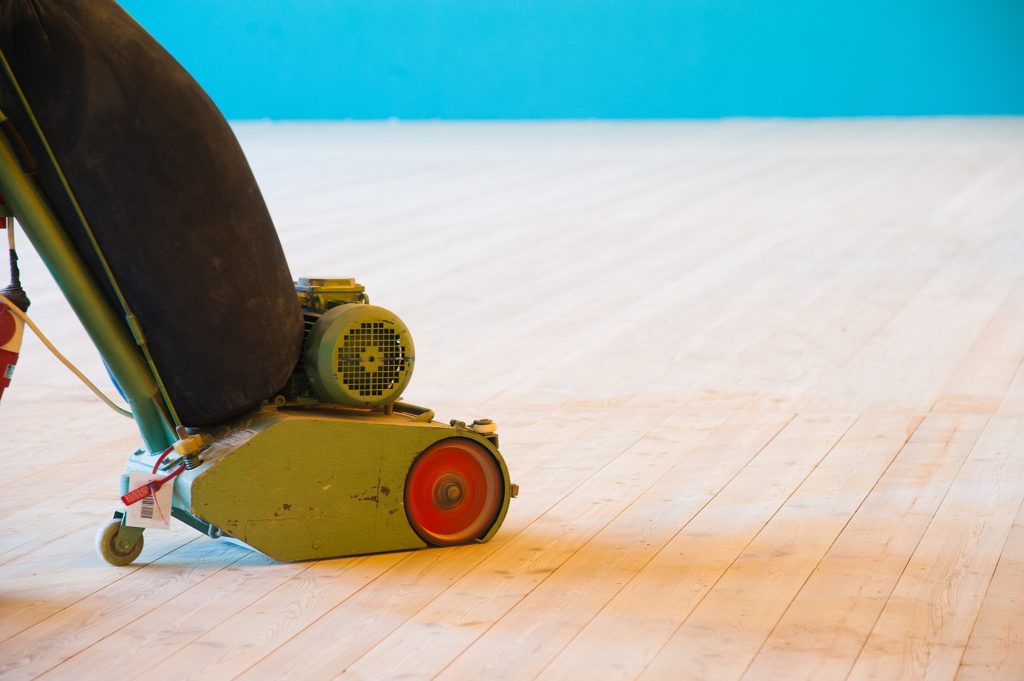
Sanding for a Smooth Finish
Next, you’re onto sanding. And no, your uncle’s ancient sander won’t cut it. You want pro-level sanding here—get rid of all the old junk and scratches. This is where your timber gets a new lease on life.
Eliminate Dust Before You Varnish
Vacuum like you’ve never vacuumed before. Dust is your enemy. Wipe everything down with a damp cloth. Only then should you even think about moving to the next step.
Step 2: Getting Varnish-Savvy
Now, let’s talk about floor varnishing in Auckland. Picking the right stuff actually matters. You’ve got two main choices: water-based or oil-based polyurethane. Water-based dries fast, keeps things looking fresh and natural. Oil-based? It’s got that deeper, richer vibe, but you’ll need patience—it takes longer to dry.
Apply Thin, Even Coats
Here’s the trick: Don’t glob it on. Thin, even coats, always. Use a decent applicator, not some dollar store brush. And for real, let each coat dry—don’t rush it, or you’ll regret it. Water-based needs a few hours, oil-based maybe a whole day. In between coats, do a quick sand. It makes everything smoother than a jazz playlist on Sunday morning.
Step 3: The Finish Line
Final coat dry? Awesome. Don’t go moonwalking on it just yet. Give it at least 48 hours before you start hauling furniture back in. And please, put pads under your chair legs unless you want instant regret.
Simple Maintenance Tips
Maintenance? Keep it simple. Gentle cleaner, nothing abrasive. That’s it. Do this, and your floors will survive even if your dog thinks he’s a racehorse.
The Bottom Line
Honestly, nailing a floor varnish job in Auckland is kinda like making a great cup of coffee—attention to detail, a smidge of patience, and the right technique. From prep to finish, don’t cut corners.If you want it done right (and don’t feel like inhaling sawdust for days), hit up Floorsanding NZ. These folks know their stuff—prep, varnish, all of it. Your floors will look so good, you’ll wanna eat dinner off ‘em. (Not recommended, but you get the point.